Beth Alvarez - Author of Epic Fantasy
  • Drawings

    I used to draw a lot. Drawing, writing and sewing – Those were the 3 things that were definitively me.
    Gradually, though, I lost the time I needed to do those things. As I transitioned into being an adult, more and more of my time was eaten up by work, then college, then work again. Over time, the monotony killed my inspiration and I just didn’t do any of it any more.

    It’s been a fight to get back into writing, one I don’t always win at. I picked sewing back up easily enough, but the one thing that used to be so me that hasn’t come back so well is art.
    It’s so hard to try to make your way as an artist. My husband draws every night, but I don’t have the luxury of time. No one ever warned me how hard it is to be a full-time stay-at-home mother, and by the end of the day, I’m so exhausted that I go to bed at 9 when the baby finally goes to sleep.I don’t really have the time to practice, I definitely don’t have the time to develop my own visual style.

    Still, I try. Sometimes I doodle a little while the baby naps in my arms. It means 10 or 15 minutes to work at a time, but since I need both hands to type and only one to draw, I might as well. Maybe someday, 15 minutes at a time, I’ll work up enough skill to really do something remarkable. For now, though, I’ll just stick to what’s easy – Character portraits for the many stories I have yet to write.

    Lumia – Character concept art by Beth Alvarez

  • September giveaway drawing results

    The other day I was cleaning in my art room and happened to notice the pendant meant for September’s giveaway on the shelf.
    I need to post that! I thought to myself, then shrugged. There’s plenty of time. I mean, October has barely begun.
    And such is the reason I’m horrible with deadlines.

    It’s not that I forgot to do it, you see, it’s that I forgot what day it was. For about a month.
    I never used to do such things, but ever since I had a baby, well, things are a little different.

    Either way, the drawing happened and the results are finally being posted! How exciting!
    So, who is the winner of September’s giveaway?

    Ta-daaah!
    I’ll be getting in touch with the winner right away – There’s still hope for the spooky prize to arrive by Halloween, after all!

  • Friday Photo Break, vol. 37

    I don’t know if I’ve mentioned it before, but I don’t doctor my photographs. A few of them have been slightly edited to fix contrast or color balance, because even with a good camera, those are just slightly off sometimes. But aside from making sure a picture looks as close to the image I saw with my own two eyes before I post it, I don’t do any editing.
    This picture made me think of it because it required color correction to remove a funky gray cast that was result of a stray cloud passing over. Cameras are really finicky about lighting, you know.
    Still, most of the photos I post are pulled directly off my camera, no editing done.

  • Friday Photo Break, vol. 36

    One of my favorite parts of the Memphis botanic garden is the bamboo. It might sound silly, but I love bamboo. It seems a little magical, the way the leaves rustle and the sun glimmers through them. Adding to the magic is how they’ve added these small bells to the branches, meaning that a breeze fills the air with chimes and jingles coming from foliage so dense it’s hard to see the bells at all.

  • Friday Photo Break, vol. 35

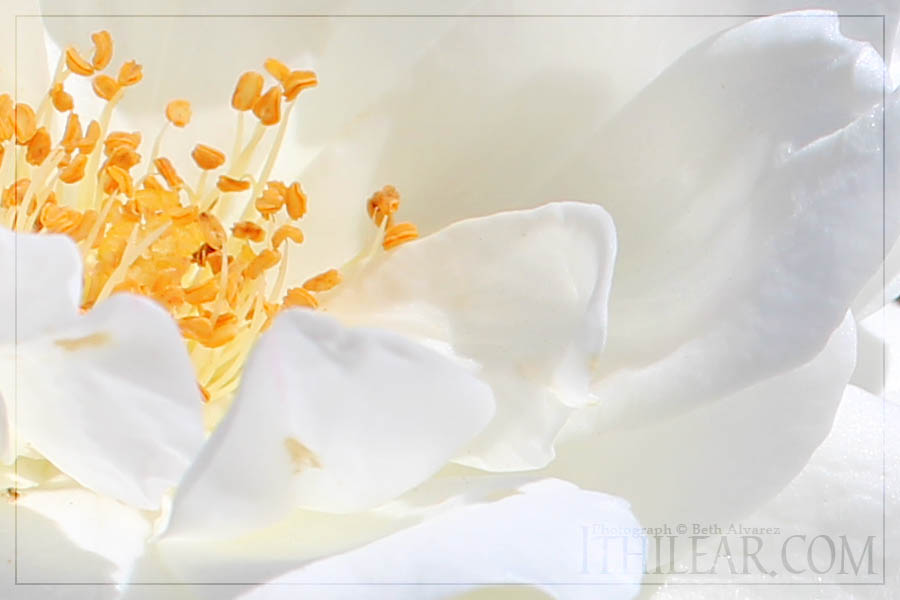
    Surpriiise! It’s another rose!
    Yeah, sorry. I just really like them, okay?
    This one is taken at the Memphis botanic garden. It was a great mid-September family expedition.

  • How-to: Making candles in a crock pot

    A couple years ago, I got the most amazing candle on clearance at Pottery Barn for all of like two dollars. Unlike most candles its size, it had only one wick, which burned straight down and left a large amount of wax unused. It smelled fantastic and I kept it for all this time, certain that I’d use it for… well, something. The other day I decided I was going to pour my own candles using the leftover wax. I’d never made candles before, knew nothing about it, but a short conversation with my mother (who has candlemaking experience) set me on the right path.

    Here’s a basic tutorial on how to make some of your own.

    Supplies needed:
    Leftover candle wax, or new wax for making your own scents
    Glass votive holders or small jars
    Wicks (If you can’t find somewhere to buy them, use birthday candles!)
    An old knife or cheese grater
    A small container or dish to hold wax pieces
    A crock pot
    Essential oils or fragrances (optional)

    Step 1.
    Start by making sure your candle holders are clean and empty. Mine wouldn’t come perfectly clean, but no big deal! They’re just for me to use. If you’re having trouble getting old wax out of votive glasses, pop them in the freezer for half an hour or so. When you take them out, the leftover wax should pop right out when you press the edge with a knife.

    Step 2.
    Cut or grate up your wax and fill your containers to the brim, packing it down as you go. It’ll melt down to about half to 2/3 full, so make sure you have plenty more wax to top the containers off.

    Step 3.
    Set your filled containers in the crock pot, cover, and turn it on high. You don’t need to put any water in the crock pot. It’ll take half an hour to 45 minutes for the wax to melt fully. Add more wax shavings or chips as it melts and the wax level in the glasses drops. If you’re adding fragrance, this is when you’d add a few drops to each candle. Using a wooden skewer or popsicle stick to stir it up works great.

    Step 4.
    Once the wax is all melted and your candles are the depth you want them, turn off the crock pot and carefully drop the wicks into the middle of the melted wax. Let cool.
    I removed mine from the crock pot to cool, but you can leave them in if you want – It might work better if you do. The wax shrinks as it cools, causing it to sink in the middle around the wicks. The faster the wax cools, the deeper it will sink.

    It doesn’t hurt the usability of the candles, but if you want them to look store-bought, you may want to let them cool slowly in the covered crock pot, melt a little wax in a separate container and pour it into each after they’ve cooled and become sunken, or melt the top with a hair dryer to get the wax to even back out. Once they’re completely cooled, you can wipe or scrape any stray wax from the glass to give it a neat and polished look. Which I did not.
    Either way, all done!

  • Friday Photo Break, vol. 34

    Okay, I confess. As much as I love photographing flowers, I have no idea what most of them are. Sometimes I take pictures of things and then spend ages trying to figure out what in the world I’ve just photographed. This is one of them.
    Sadly, flowers and I don’t really get along. I’ve tried to garden, tried really hard, but I’m pretty sure my garden is where flowers go when they have a death wish. The only thing I haven’t killed (yet) is the mini rose my husband and daughter gave me as a mother’s day gift. That thing has inexplicably survived, but winter is coming. We’ll see what happens.

  • How-to: Rose petal potpourri

    At the beginning of the year, I turned my Valentine’s roses into potpourri.

    It’s no secret that roses are my favorite flower. I normally dry the flowers my husband gives me, but with a new baby in the house, I was too distracted to do it and they started drooping and dropping petals before I had a chance to hang them for drying. So they became potpourri instead, and the process was really simple.

    I did some reading online about potpourris, and learned that they’re best with a fixative. Everywhere suggested using orris root powder as a fixative. I spent the whole time thinking, what the devil is an orris?
    Turns out they mean iris root. I know what irises are, but I don’t have any and I couldn’t find anywhere to buy powdered iris bulbs, so I used the next best thing: Lavender.

    So, here’s the basic rundown!

    Supplies needed:

    Roses
    Paper towels
    Rose oil
    Dried lavender
    Container with lid, large enough to hold all the petals

    I got the rose oil and lavender at Michaels. They’re kept with the candle and soapmaking supplies. I used coupons, so it cost me under $5 for both.

    Step 1.
    Once your roses are all wilted and dead-looking, gently pluck all the petals off and lay them on the paper towels to dry. Depending on where you live, it may only take a few days or it could take a week. Either way, make sure they’re all nice and crispy dry before moving on. Be sure to stir them every day so that the petals on the bottom have a chance to air out and dry thoroughly.

    Step 2.
    Dump all your dried, crispy rose petals into a container. I used a mixing bowl with a lid. Add some dried lavender. I read that a tablespoon was plenty, but I didn’t feel like measuring, so I just dumped in about a quarter of the package. The purpose of the fixative, by the way, is to absorb any unpleasant odors the other contents might put off. Rose petals get a funny smell to them when they dry, sometimes, especially store-bought roses. The fixatives also hold the added fragrance longer.
     

    Step 3.
    Add a few drops of rose scented oil to the container. I used about 10 drops, when ended up being WAY more than was necessary, making my potpourri very strong. I’d suggest using about 5 or 6 drops instead. Once that’s added, put the lid on, shake it up, and put it away! You’ll want it to sit and soak up the fragrance for a few days, so keep the lid on and store it in a cool, dark place for about a week.

    Step 4.
    Put it out in a container in your house and enjoy your work! The fragrance should last for a few weeks. Heat makes the fragrance stronger, so if you put it near a heat vent, your house will smell fantastic through the chilliest weeks of winter.

    As an afterword, be sure to keep your bottle of rose oil in a cool, dark storage place to keep it from weakening. Whenever your potpourri begins to lose its scent, just add a few more drops of oil to freshen it up!

  • Friday Photo Break, vol. 33

    Yellow is Mom’s favorite color, so it’s never a surprise when her garden is filled with daisies and sunflowers and things like these black-eyed susans. She’s got a remarkable green thumb but rarely gets to utilize it because of her autoimmune health issues. Toward the end of summer and early fall, I always hear her say that her garden has gotten away from her. But the thing is, if it hadn’t, she wouldn’t have a fenced garden overflowing with golden yellow flowers that decided to take everything over.
    Maybe it’s not exactly as she planned things to look in the fall, but her garden is always beautiful.